Showing posts with label food/drink. Show all posts

Sunday, 23 July 2017

Cashew cream carrot cake (VG + GF) đŸ„•


I never met a carrot cake I didn't like. The perfect amalgamation of savoury and sweet – also, part of your five a day, kinda – this beautifully textured baked treat is an ideal accompaniment to any afternoon tea date. But why share?


If you're not in the business of dietary requirements, that's quite alright: rest assured you'll still very much enjoy this vegan, gluten free, refined sugar free variant on the root veg-based cake classic. And health! 


FOR THE CAKE, YOU WILL NEED: 

> 250g buckwheat flour (spelt would be nice too)
> 200g coconut sugar 
> 4 tsp cinnamon 
> 1-2 tsp nutmeg 
> 1 tsp Himalayan salt (my preferred choice, but don't make a special trip to buy it if you just want to use the salt in your cupboard) 
> 3-4 tsp baking powder 
> 200-250g carrots, grated
> 150g apple puree 
> approx. 50ml plant/coconut oil 
> optional extras: sunflower seeds, raisins, chopped walnuts 
> a loaf tin, well greased


FOR THE FROSTING: 

> 150g cashews, soaked and drained (I pop mine in a bowl of water overnight, but a couple of hours will suffice)
> 1-2 tsp vanilla extract 
> 2 tbsp agave syrup (or maple, if you fancy)
> 2 tbsp coconut oil
> 2 tsp lemon juice
> a splash of your chosen milk (I use oat or almond)


THIS IS HOW WE DO IT:

1) Preheat the oven to 180°C. 

2) Combine all the dry cake ingredients (minus the coconut sugar) in a mixing bowl.

3) In a separate vessel, whisk together the apple puree, oil, sugar, milk, and vanilla extract.

4) Pour the liquid mix into the bowl of dry ingredients, and whisk together thoroughly – get as much air in as you can! 

5) Add the grated carrot (and optional extras if you're including them), folding until thoroughly combined. 

6) Put the cake mix into the greased loaf tin, then pop in the preheated oven for approx. 35 minutes. 

7) For the frosting, put all the ingredients into a decent blender (my NutriBullet works great) and pulse for about one minute – until a smooth, creamy texture is created. Once made, put it in the fridge for 30-60 minutes.

8) When the cake has completely cooled, generously spread the cashew cream on top. 

Have your cake and eat it.   


Wednesday, 4 May 2016

Apple crumble + custard shake (VGN)


Don't get me wrong, I love (love) to eat, but I'm also quite the beverage enthusiast – and any excuse to whip out my beloved blender, too. This in mind, experimenting with fun smoothie and shake concoctions (while keeping the ingredients as more-or-less wholesome as I can), is a regular event in my little Berlin kitchen.  


As with most of my culinary creations, this combination came about kinda fortuitously – the result of needing to use up ingredients before a quick London getaway –  but I thought the outcome was worth a share. Dainty disclaimer: Don't go expecting an actual apple crumble and custard dish, but rather an alternative take on the conventional dessert's fundamental flavours, unconventionally remixed into a sweet and (I think) lovely liquid.  

For one serving, you will need: 

> 1x banana 
> approx. 200ml dairy free vanilla milk (Alpro's soya vanilla has the most custard-like taste, but choose according to your own preference!)
> a handful of cashews
> 1 tbsp vanilla protein (I use NUA Naturals vanilla rice protein powder)
> a squeeze of agave/maple syrup
> 1 tsp cinnamon
> 3 tbsp apple purée (100% apples)
> for the topping: a sprinkle of oats, crushed cashews, date sugar and/or coconut sugar  


Make:

1) Blend the banana, vanilla milk, agave/maple syrup, cashews, vanilla protein and cinnamon.
2) Spoon the apple purĂ©e into the base of your jar (or other vessel of choice). 
3) Pour the vanilla shake over the apple purée.
4) Sprinkle your oats and cashews (toasted if you like), as well as date or coconut sugar on top.
5) Pop a straw in. A little spoon might come in handy too. Ta-da.  

Saturday, 5 September 2015

Raw VGN cashew-choco cookie dough


There'll always be the sceptics that don't and won't and can't and shan't rate raw, vegan, refined sugar-free desserts. And that's cool, each to their own (more for me). But I'm personally not in that party, and am an absolute upholder of the fact that eating mostly plant based, unrefined whole foods does not-in-the-slightest equate to bland, flavourless food – quite the opposite. This experimental little cookie dough number is a total testament to that.   


Mini rant over, time to get to the good stuff. For a big bowl of cookie dough – which you can either eat straight off the spoon or pop in the freezer on a tray and cut into bite-sized pieces – you will need: 

> 1 cup oats
> 1 cup cashews
> a couple of pinches of sea salt (I like the pink Himalayan variety, but any will do just fine)
> 1 tsp vanilla extract
> 5 dates (pitted)
> 2-4 tbsp agave syrup 
> a dash of almond milk (or other milk of your choice)
> a handful of cacao nibs or dark chocolate chips 
> optional: 1 tsp maca powder // 1 tbsp chia seeds

Lil hint: a strong food processor/blender is important, as the dates and cashews need quite a bit of blending power! 


Make:

1) Blend the oats, cashews, agave, vanilla extract and sea salt. Sprinkle in some maca powder if you fancy an extra superfood boost.
2) Add in the dates a couple at a time, pulsing and adding almond milk to help smoothen the consistency and aid the blending. 
3) Transfer mix into a bowl, then add your chocolate chips (and chia seeds if you're putting them in). 
4) Get a spoon and eat it right away, or put in the freezer for 30-60 mins so it sets a little.

Sunday, 17 May 2015

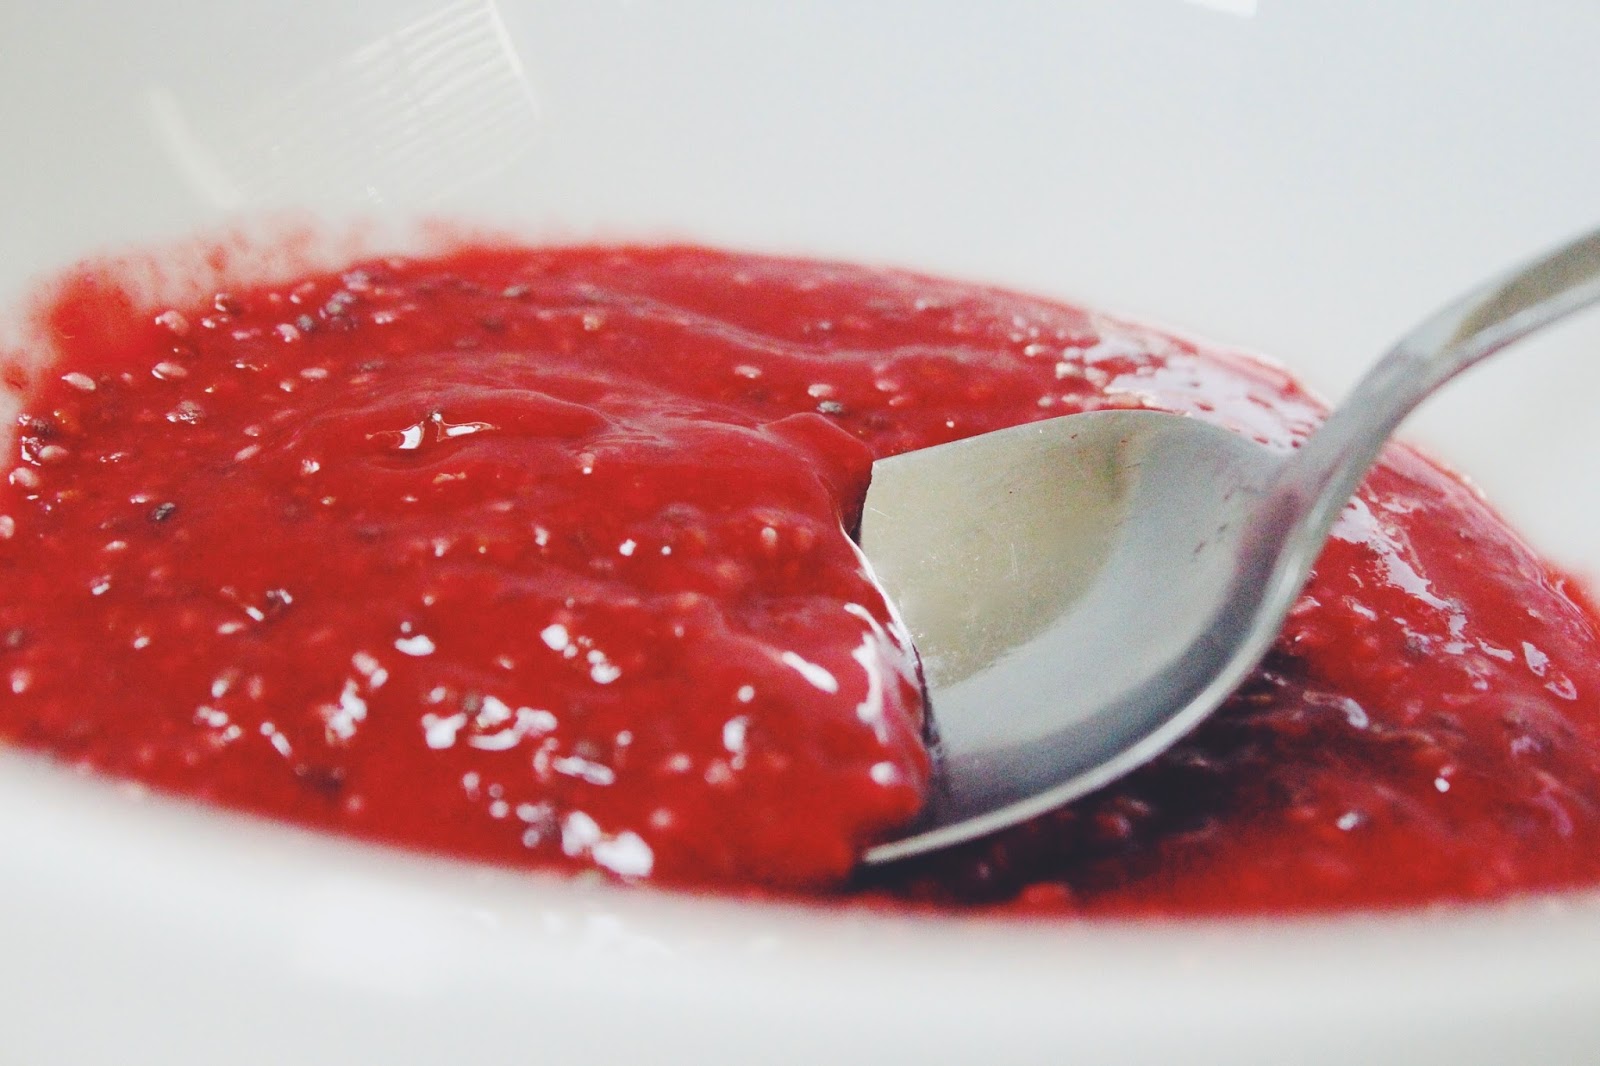
Sweet avo nourish bowl + raspberry-vanilla chia jam


Whatever it may be, if done with a little extra love and creativity it's just always - in my experience - gonna turn out better. My go-to individual nourish bowls, whether sweet or savoury or somewhere in between, are a case in point. By its very nature, the word "nourish" needn't just be used in a foodie sense, but applied to all of life's ventures and facets. First and foremost, though: 
nourish yo' self from the inside.


As final exams are drawing to a close (eee!), I've been able to gradually make more time for the things that make me very happy indeed; gettin' experimental in the kitchen - specifically with pretty plant-based power foods - being one of them. Of course, this bowl of sunshine can be tweaked as much as ya like, but the avo-banana base is a good place to start. And I certainly wouldn't dodge the jam either (geddit); it's so simple to make and delicious to boot.

     
For the raspberry-vanilla chia jam, you will need:

> 1 punnet of raspberries 
> 2-3 tbsp agave nectar (or honey if you prefer)
> a dash of vanilla extract 
> 2 ½ tbsp chia seeds


For the sweet avo smoothie base, you will need:

> ½ an avocado (nice and ripe)
> 1 banana 
> 1 tbsp agave nectar 
> a drop or two of milk (I use almond)
> optional: 1 tsp maca powder


Make:

1) I always start by prepping the jam, so it can be setting while I blend up the base. Blend the raspberries, agave syrup (or honey) and vanilla extract until a nice smooth consistency. Once sufficiently blended, stir in the chia seeds thoroughly and place mixture in the fridge for 15-20 minutes. 
2) While waiting for the jam to thicken, whizz up the avocado, banana, agave nectar and milk. It should be nice and creamy; don't add too much milk! 
3) Pour the avo-banana base into a bowl. Once the jam has set (at this stage I'm normally a bit impatient and take it out the fridge anyway - rebellious I know), top the smoothie base with it, arranging however you wish.
4) Now comes the fun bit: top to your heart's content with additions of your choice! For the bowl pictured, I went for almond butter, medjool dates, extra raspberries and chopped walnuts. 
5) Sit, savour, smile.

Sunday, 22 February 2015

Chickpea-nut butter chocolate blondies


Having hit upon the recipe on Ambitious Kitchen (via Pinterest) - and subsequently tweaked it a little to suit my own taste - this not-so-naughty take on the peanut butter blondie has been a near daily fixture in my kitchen of late. Gooey, sweet and a piece of cake to rustle up (ha ha), it's hard to find fault with this gluten-free, refined sugar-free, dairy-free treat.  


First things first: do not be deterred by the chickpea base! With their mild flavour and easy-to-blend character, chickpeas form the basis of the blondies' dreamy consistency and honestly can't be discerned in the flavour (as my unsuspecting housemates will testify). Plus, these beauties don't even tenuously contribute to your five a day, since chickpeas constitute a key ingredient. A delectable dessert with an undetectable veg portion inside - what's not to love? 


You will need:

> 1 can chickpeas, drained 
> 4-6 tbsp natural peanut butter (or any nut butter of your choice)
> 6-8 tbsp agave nectar (I like to split it ½ and ½ with maple syrup)
> 2 tsp pure vanilla extract
> ½ tsp baking powder
> ½ tsp sea salt 
> few squares chocolate with high cocoa content, broken up (Green & Blacks 85% is a good bet)
> 3-4 tbsp cacao nibs 
> virgin coconut oil (to grease baking tin)

Make:

1) Preheat oven to 180ÂșC. Grease baking tin with melted coconut oil.
2) Put chickpeas, nut butter, natural liquid sweetener(s), vanilla extract, baking powder and sea salt into mixing bowl. Blend until cake batter consistency. Test to check it's to your taste - if not, add extra of whatever you feel is missing!
3) Add chocolate and cacao nibs. Mix well. 
4) Pour mixture into baking tin. Smooth out evenly. 
5) Pop tray into oven for 20 minutes, until golden brown on the outside and gooey on the inside. If anything, it's better that you slightly undercook it and leave to rest outside the oven for 15 mins or so (since it has no raw ingredients), to ensure its squishy texture. 
6) Slice and eat (best served warm)! I love them with a little yoghurt and blueberries. They also work a treat when cut into bars, to eat as a sweet snack at any time of day. 

Sunday, 15 February 2015

Choco-chai chia


   If there's one kinda sweet treat that never fails to bring me a little chia - sorry, cheer - it's this pudding right here. Aside from being loaded with all the protein, omega-3 and fibre a nutrition nerd could wish for, chia seeds are a very versatile ingredient indeed. Once you've got the fundamentals down (and they really are a breeze), you can experiment to ya heart's content with flavour combos and toppings. Enjoy this choco-chai number for starters!


 As someone who goes to sleep with tomorrow's breakfast already on my mind (I don't think I'm alone on this), it's always a delight to wake up to ready-prepped morning fuel to kick start my day in the best way! All it takes is a little forethought the night before. 


For a one person portion, you will need:

>  2 tbsp chia seeds
>  1 cup milk (I usually opt for coconut or almond)
>  1 tbsp cacao powder 
>  1 vanilla bean (the seeds!) or 2 tsp good vanilla extract
>  1-2 tbsp maple syrup (the carob fruit blend variety from Clarks is a winner)
>  1 tsp all spice powder 
>  1 tsp maca powder (not essential) 

Optional extras as pictured: cacao nibs, mixed seeds, goji berries, bee pollen.

Make:

1) Put chia seeds into airtight container (a jar is great), pour in chosen milk, stir. 
2) Add the rest of the ingredients and mix well. 
3) Seal and place in the fridge to thicken - overnight is best, but 3-4 hours will suffice if necessary.
4) Sprinkle any additions on top.


    If you're not a fan of its frogspawn-like consistency and appearance (I appreciate it might be off-putting for some), try blending the mixture - once it's had time to set - as a happy compromise; all the goodness and taste, minus the texture. I like it both ways, but see what works for you! Bon appĂ©tit.